
TM 5-2420-230-24-1
Spicer Speciality Axle Division - Technical Publications
SECTION 9
BRAKE BRACKET AND CAM SHAFT RE-ASSEMBLY
9.1
Refit brake cam lubricators (29 & 49), new protective caps (30 & 51) also lubricator extension (29) into
their positions in brake bracket (44) and chamber bracket (88).
9.2
Lubricate a new brake cam 'O' ring (89) with clean gear oil and ease into position in chamber
bracket (88).
9.3
With service tool no. E316 or other suitable bumper tool, refit brake cam bushes (27 & 90) into brake
bracket (44) and brake chamber bracket (88) respectively.
Note :-
Take care to line up lubrication holes in bushes and bracket bosses.
9.4
Using service tool no. E414, refit cam oil seal (28) open side first, to abut brake cam bush (27).
9.5
Refit chamber / cam bracket (88) onto chamber bracket studs (83) and secure in position with nuts (95).
Tighten nuts to 190 - 210 lbs. ft. (258 - 285 Nm.).
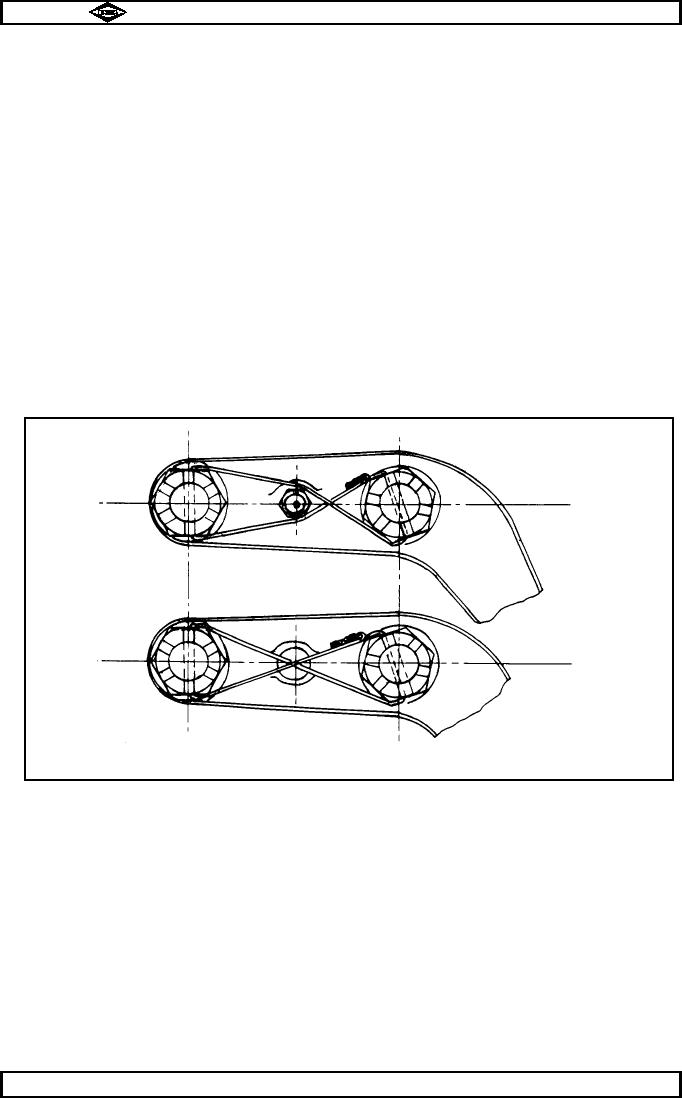
Secure in position using 16 swg lockwire (see fig. no.5).
TP35
Lever with
lubricator
Lever without
lubricator
Fig. No. 5
9.6
Tap brake bracket (44) into position on swivel jaw (71) and secure with brake bracket nuts (23 & 112).
Tighten nuts to 95 - 110lbs. ft. (128 - 150 Nm).
9.7
Refit brake anchor pins (21) and washers (22).
9.8
Place cam head washer (24) and cam 'O' ring (25) in position on brake cam shaft (19).
9.9
Smear brake cam bushes (27 & 90) 'O' rings (25 & 89) and oil seal (28) with Shell Retinax LX or
equivalent grease. Ensure all indentations are full
9.10
Feed cam shaft assembly into position taking care not to damage seals.
Spicer Speciality Axle Division
Manual No. 1785 Issue A
Page No.B8
J-38

