
TM 5-3805-281-24-2
Cylinder Block, Liners, Pistons, and Rods
IMPORTANT: DO NOT use pneumatic wrenches to
tighten rod cap screws. Using
pneumatic wrenches may cause thread
damage.
Keep bearing inserts with their
respective rods and caps. Mark rods,
pistons, and caps to insure correct
assembly in same location as removed.
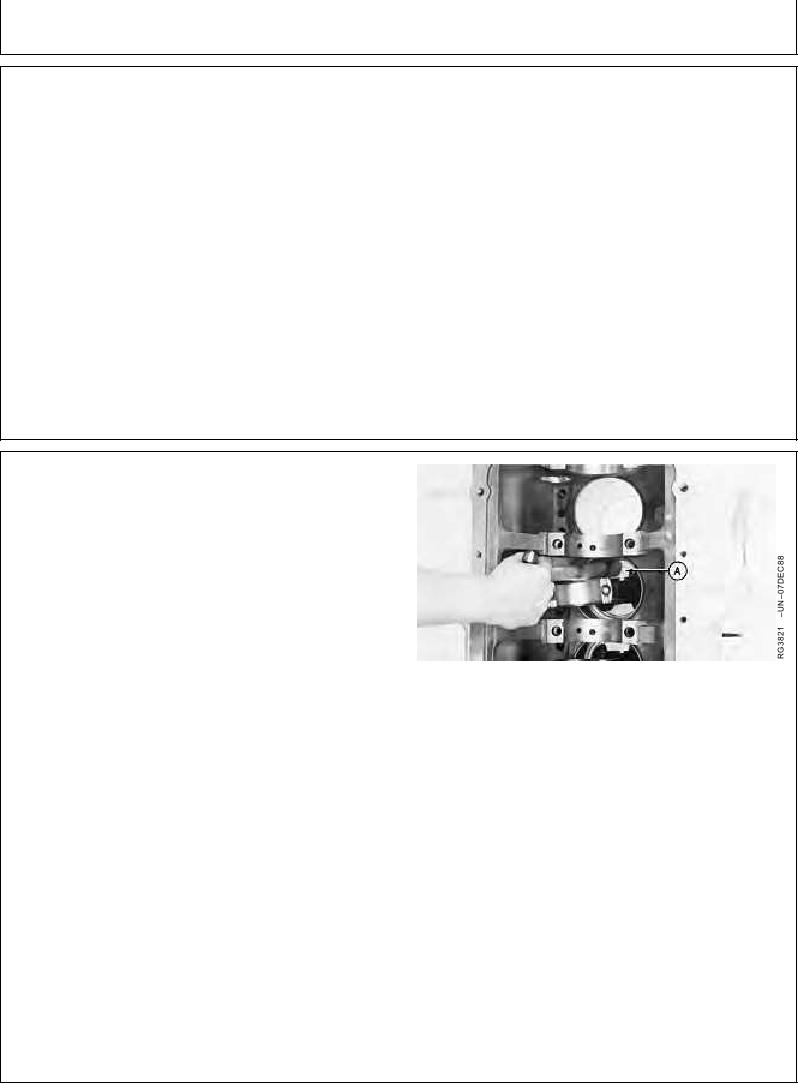
7. Remove rod cap screws and rod caps (A) with
bearings (B).
RG,RG34710,1113
1923OCT974/5
Crankshaft is shown removed, but piston and rod
assembly can be removed with crankshaft installed.
IMPORTANT: Be careful not to let rod nick crankshaft
bearing surface as piston and rod
assembly is removed.
If liners are to be reused, be extremely
careful not to let connecting rod hit
liner bore when removing piston and
rod assembly.
Removing Pistons
Piston and liners are selectively fitted to
maintain piston-to-liners clearance.
Always keep matched pistons and
liners together as a set and each set
MUST BE installed in the same cylinder
as removed.
8. Gently tap piston (A) through top of cylinder block from
the bottom. Once piston rings have cleared cylinder
liner bore, hold on to piston to prevent piston from
dropping.
RG,RG34710,1113
1923OCT975/5
11-150