
TM 5-3805-281-24-2
Crankshaft, Main Bearings, and Flywheel
REMOVE CONNECTING ROD CAPS AND
REMOVE CRANKSHAFT
1. Rotate crankshaft using JDG820 or JDE81-1 Flywheel
Turning Tool until connecting rod caps can be removed
easily. You will be able to remove rod caps at each
position.
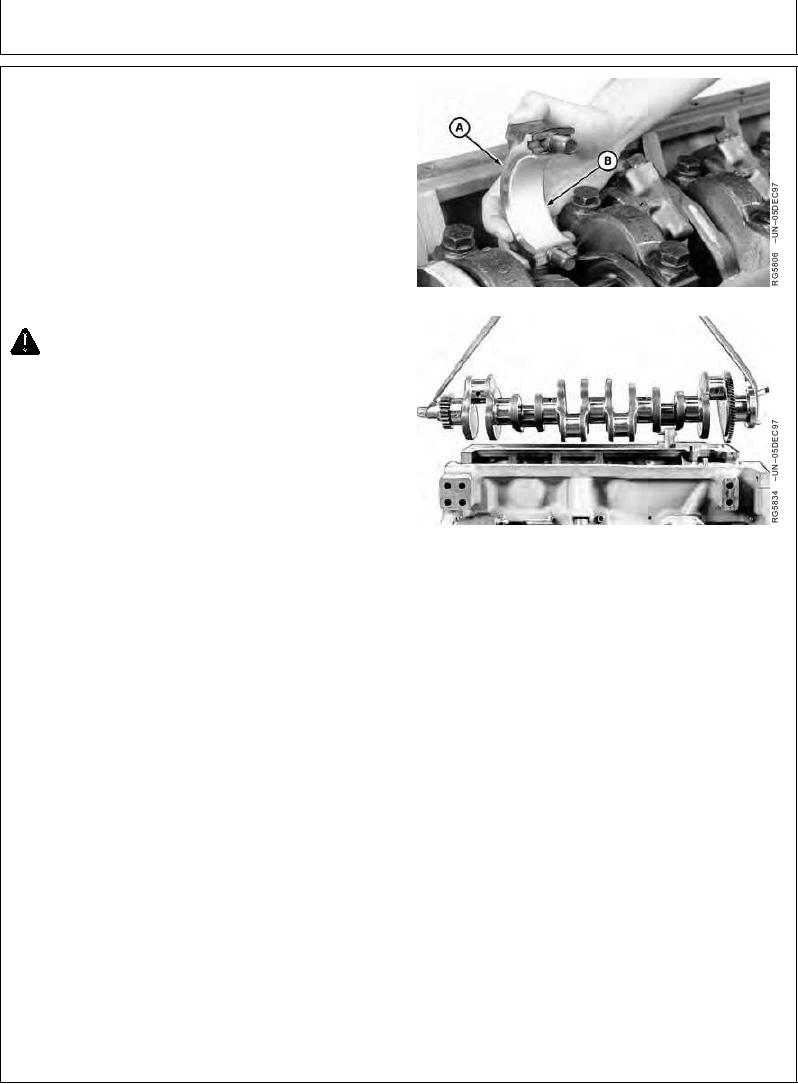
2. Remove all connecting rod caps (A) with bearings (B),
then remove No. 1 and 7 main bearing caps and
bearings. See REMOVE PISTONS AND
CONNECTING RODS in Group 10.
Removing Connecting Rod Caps
CAUTION: Crankshaft is very heavy. Plan a
proper handling procedure to avoid injury.
NOTE: Install a screw on each end of crankshaft to aid in
lifting crankshaft.
3. Install a cap screw in each end of crankshaft and
attach a lifting strap to crankshaft as shown. Using
proper lifting equipment, carefully raise crankshaft out
of cylinder block.
4. Clean crankshaft, especially oil passages, using
Removing Crankshaft
solvent and compressed sir.
5. Put crankshaft on clean V-blocks.
6. Remove rear wear sleeve from crankshaft flange, if not
previously done, using one of the following methods:
Use JDG790 Wear Sleeve Puller to remove wear
sleeve from crankshaft, as described earlier in this
group. Position crankshaft rod journals in V-blocks so
that crankshaft does not rotate while removing wear
sleeve.
Use the ball side of a ballpeen hammer and tap wear
sleeve across its width in a straight line (to deform and
stretch sleeve).
Score (but do not cut) the wear sleeve in several
places around O.D. with a blunt chisel.
RG,RG34710,1170
1923OCT971/1