
TM 5-3805-281-24-1
00--Propel Motor
18--Pin (3 used)
33--Spring Pin (3 used)
47--Snap Ring
02--Propel Gearbox
19--Spring Pin (3 used)
34--Second Planet Sun
48--Cap Screw (16 used)
Housing
20--Third Planet Sun Gear
Gear
49--Plug (3 used)
03--Metal Face Seal
21--Needle Bearing (6
35--Thrust Washer
51--O-Ring
05--Drum
used)
36--First Planet Carrier
52--Cap Screw (8 used)
06--Sprocket
23--Ring Gear
37--First Planet Gear (3
53--Lock Washer (8 used)
07--Lock Washer (20 used)
25--Cap Screw (28 used)
used)
55--Name Plate
08--Cap Screw (20 used)
27--Second Planet Carrier
38--Needle Bearing (3
56--Cap Screw (2 used)
09--Roller Bearing (2 used)
28--Thrust Washer (2
used)
10--Nut
used)
39--Thrust Washer (6
11--Lock Plate
29--Second Planet Sun
used)
12--Cap Screw (2 used)
Gear (3 used)
40--Pin (3 used)
14--Third Planet Carrier
30--Needle Bearing (3
41--Spring Pin (3 used)
02
15--Third Planet Gear (3
used)
42--Propel Shaft
0250
used)
31--Thrust Washer (6
44--Cover
27
17--Thrust Washer (6
used)
45--Thrust Plate
used)
32--Pin (3 used)
46--Roller Bearing
CED,OUOE023,159
1928MAY982/17
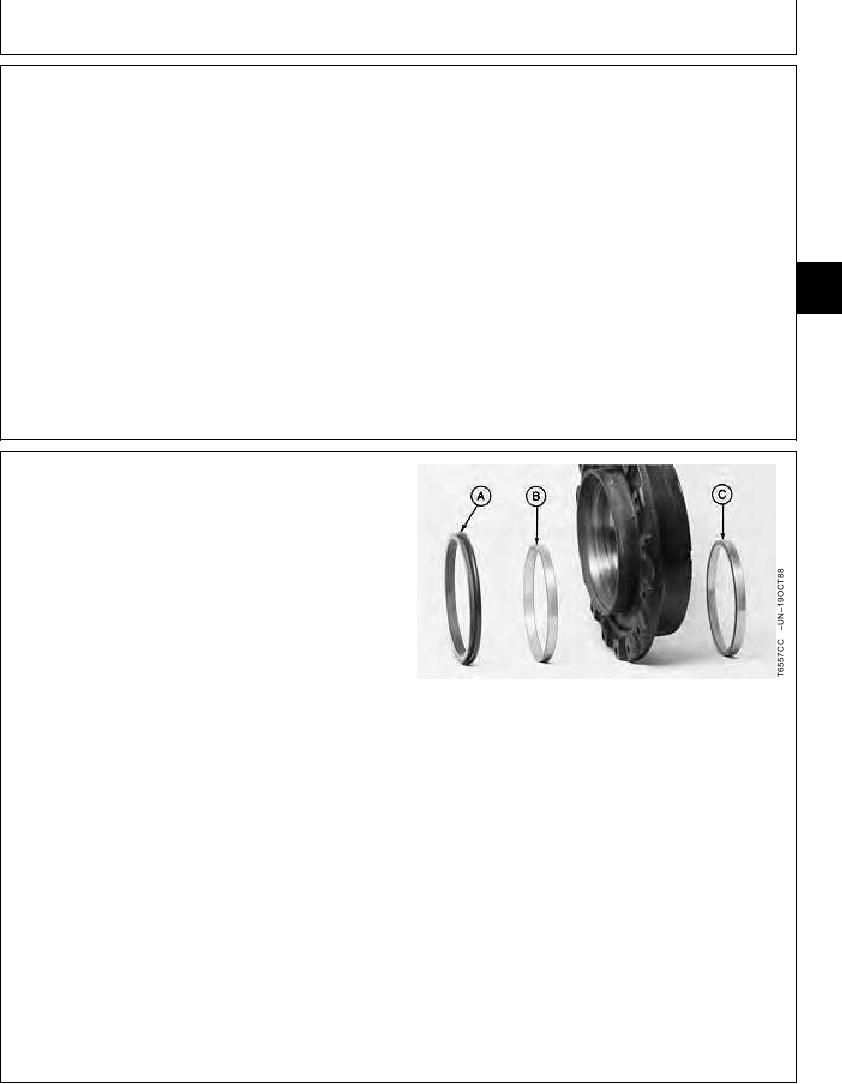
1. Install cups (B and C) tight against bottom of bore.
Cups are a press fit.
IMPORTANT: O-ring and seat surfaces for O-ring
must be clean, dry, and oil free so
O-ring does not slip.
2. Thoroughly clean O-ring and seat surfaces in housing
and seal ring using volatile, non-petroleum base
solvent and lint-free tissues.
NOTE: A volatile, non-petroleum base solvent or talcum
powder can be used as a lubricant. Solvent must
A--Metal Face Seal
not damage the O-ring or leave an oil residue.
B--Bearing Cup
C--Bearing Cup
3. Apply equal pressure with fingers at four equally
spaced points on seal face surface. Seal ring and
O-ring must "pop" down into place so O-ring is tight
against seal bore and seal is installed squarely.
4. Wipe finger prints and foreign material off seal face
using clean oil and lint-free tissues.
5. Apply a thin film of oil on seal face.
Continued on next page
CED,OUOE023,159
1928MAY983/17
10-26