
TM 5-2420-230-24-1
Spicer Speciality Axle Division - Technical Publications
SECTION 10
FINAL ASSEMBLY OF PINION UNIT
10.1
Fit oil seal into bearing housing (7) using a suitable fitting tool (tool no. E477 is available from our
spares and services dept. if required) as follows :-
a)
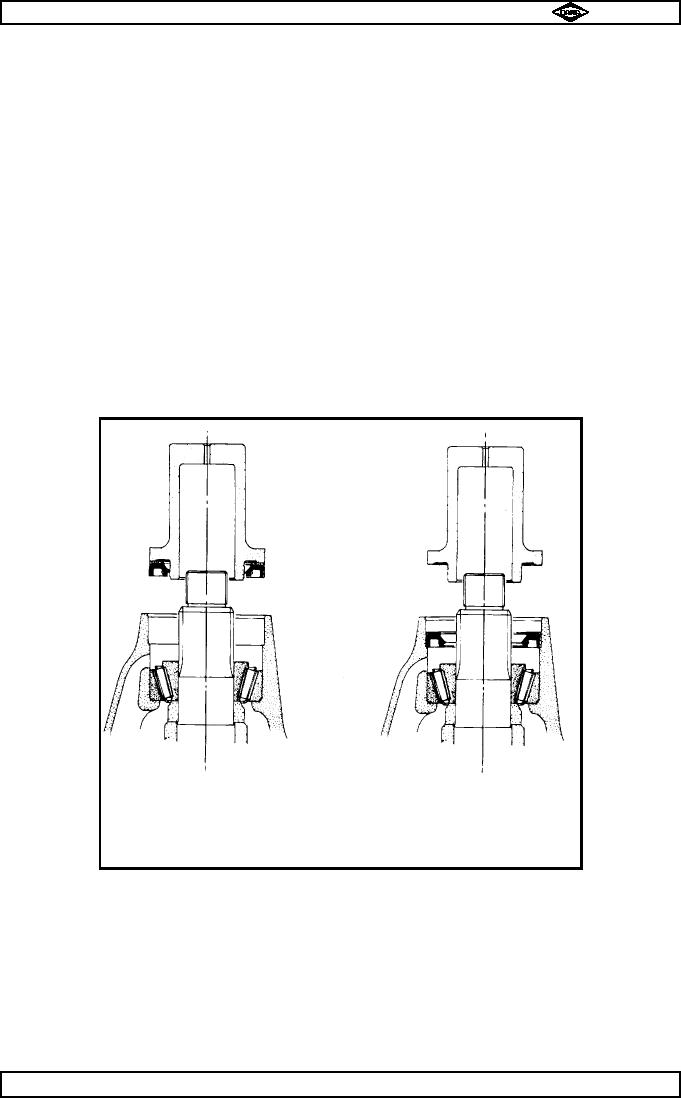
The seal must be fitted using a circular tool which bears on seal close to its outside
diameter where casing is strongest. The correct fitting tool (E477) or one of similar
design should be used. Failure to use a suitable tool will result in distortion of seal
casing, uneven wear of lip and leakage. See fig. no. 6.
b)
The seal must remain square to bore during fitting. If seal cocks over and one side
enters bore first in will almost certainly result in distortion of casing which will not be
corrected by straightening up seal further down bore. Where possible, seal should be
fitted under a press, which reduces the likelihood of this problem.
c)
The seal must be truly square in bore after fitting. A cocked seal will act as an oil pump.
d)
When replacing a seal, always check coupling flange for damage in region polished by oil
seal lip : even slight damage in this area will cause leakage. Very slight marks may be
polished out with fine emery cloth, but it is essential that polishing marks are parallel to
seal lip. Where there is no more serious damage, it is permissable to fit two seals
back-to-back if there is room in housing, ie. outer seal with spring facing outwards, inner
seal with spring facing inwards. The outer seal acts as a spacer and ensures that inner
seal is fitted square and that it runs on a different part of coupling flange.
e)
The lip of seal or journal of coupling flange should be smeared with clean gear oil prior to
assembly.
If seal is assembled dry it can burn out in a matter of minutes, before oil reaches it.
TP74
Seal being fitted direct into gear casing
Fig. No. 6
10.2
Refit coupling flange (2) and nut (1). Tighten nut to 800 - 900lbs.ft.(1085 - 1220Nm.)
10.3
Lock nut in position by peening locking flange into slot in pinion shaft .
10.4
If any pinion housing / gear casing studs (9) have been removed, renew and tighten to TD183/1
10.5
Place adjusting shim (8) into position on studs (9), then offer pinion assembly to gear casing (12),
tapping in position with a rawhide mallet.
Note :- If new pinion / crownwheels are fitted, a nominal shim pack of 0.050 " (1.27mm) should
be fitted.
10.6
Secure in position with washer (6) and nuts (5). Tighten nuts progressively using diagonal selection,
until tightened to correct torque. 47 - 53 lbs. ft. (64 - 72 Nm).
Page No.C11
Manual No. 1785 Issue A
Spicer Speciality Axle Division
J-75