
TM 5-3805-294-23-4
0571
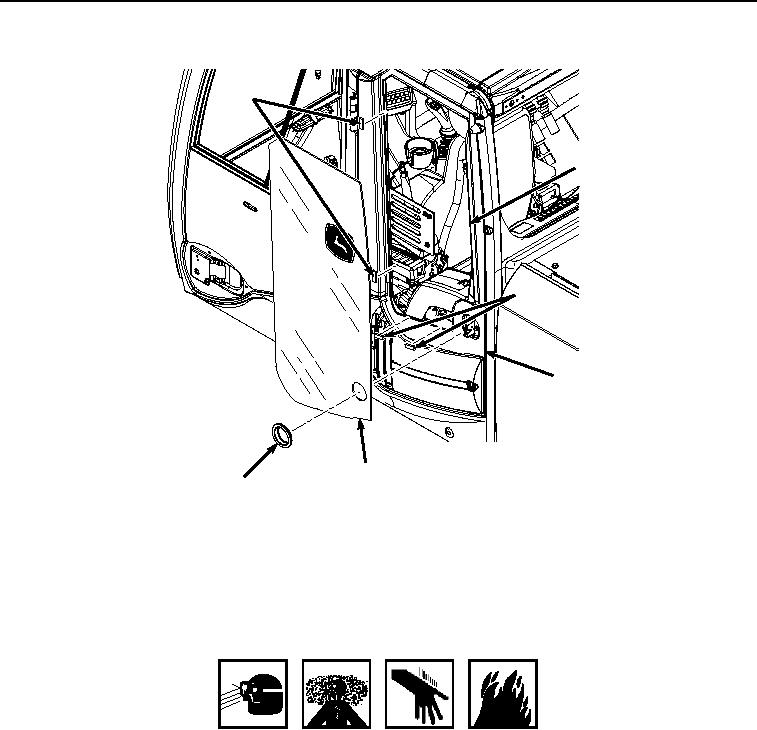
RIGHT, REAR, AND LEFT CAB WINDOWPANES INSTALLATION - Continued
13
9
13
14
10
15
HYEX02653
Figure 5.
Left Cab Window Pane.
2.
Remove any remaining pieces of broken glass or debris from sealing compound. Do not remove sealing
compound.
3.
Remove four bushings (Figure 5, Item 13).
WARNING
ADHESIVES AND SEALANTS
NOTE
Ensure that edge of sealing compound is smooth and flat prior to adding sealing compound
and installing windowpane.
4.
Apply a continuous 1/4 in. (6 mm) bead (Figure 5, Item 9) of sealing compound over existing sealing compound.
5.
Position four bushings (Figure 5, Item 13) to cab (Figure 5, Item 14).
6.
With the aid of an assistant, install windowpane (Figure 5, Item 10) to cab (Figure 5, Item 14).
7.
Press firmly on windowpane (Figure 5, Item 10) until edge of windowpane is even with cab (Figure 5, Item 14).