
TM 5-2420-230-24-1
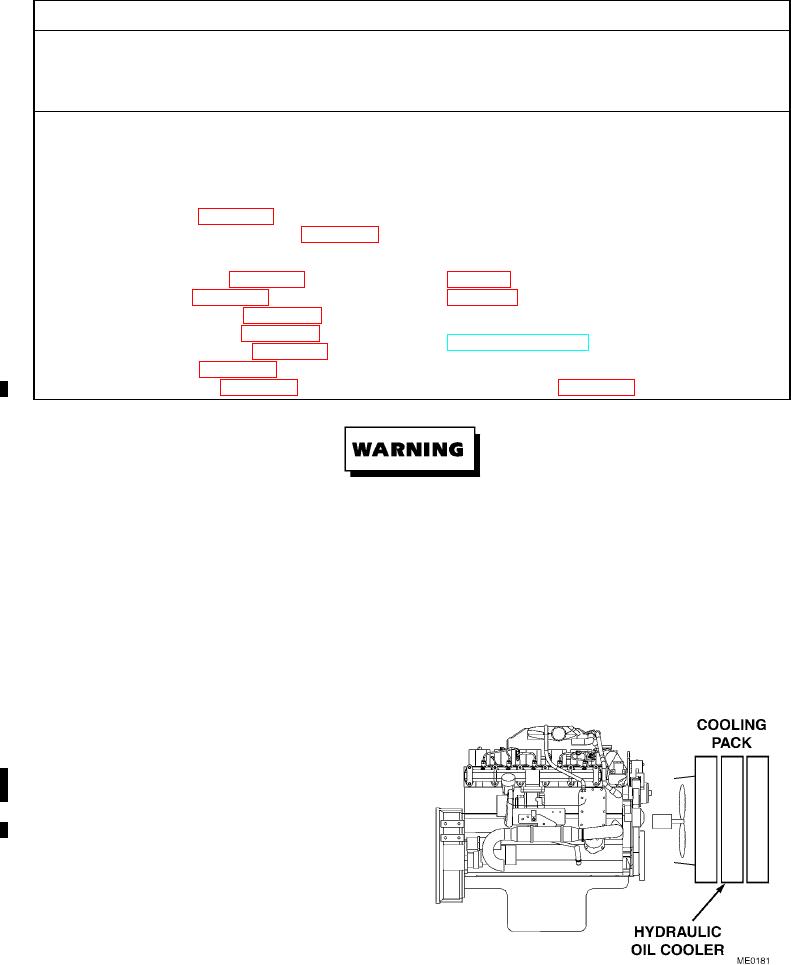
9-8. HYDRAULIC OIL COOLER REPLACEMENT.
This Task Covers:
a. Removal
b. Inspection
c. Installation
d. Follow-On Maintenance
INITIAL SETUP
Test Equipment
Personnel Required
None
MOS 62B, Construction Equipment Repairer
Tools and Special Tools
References
Pan, drain, Item 29, Appendix B
None
Tool kit, general mechanics, Item 38, Appendix B
Equipment Conditions
Materials/Parts
TM or Para
Condition Description
Cap and plug set, Item 4, Appendix C
Hydraulic pressure released.
Cardboard, Item 5, Appendix C
Nose cone removed.
Nut, self-locking, Item 103, Appendix D (8)
Drawings Required
Nut, self-locking, Item 112, Appendix D (4)
TM 5-2420-230-24P Figure 25
Tags, identification, Item 63, Appendix C
Ties, cable, Item 68, Appendix C
Estimated Time to Complete Task
Refer to MAC in Appendix B
Washer, lock, Item 280, Appendix D (12)
a. Removal.
Hydraulic fluid (Dexron III) is TOXIC. Wear protective goggles and gloves; use only in
well-ventilated area; avoid contact with skin, eyes, and clothes. Skin and clothing that come in contact
with hydraulic oil should be washed immediately. Saturated clothing should be removed immediately.
Failure to comply may result in injury to personnel.
NOTE
Tag all hoses and tubes and note their positions before removal.
Cap and plug all tubes, hoses, and fittings upon removal.
Remove cable ties as necessary.
It is not necessary to drain the Air-Conditioner (A/C) to replace the hydraulic oil cooler.
(1)
Place drain pan and remove hose clamps
securing hydraulic oil cooler hoses.
(2)
Remove four self-locking nuts, lockwashers,
flat washers, and bolts securing
A/C condenser. Discard self-locking nuts
and lockwashers.
(3)
Protect A/C condenser core with cardboard,
and place it on right wheel.
(4)
Secure A/C condenser core to fender arm
with cable ties.
Change 1