
TM 5-3805-294-23-4
0574
INSTALLATION - Continued
1
2
HYEX01163
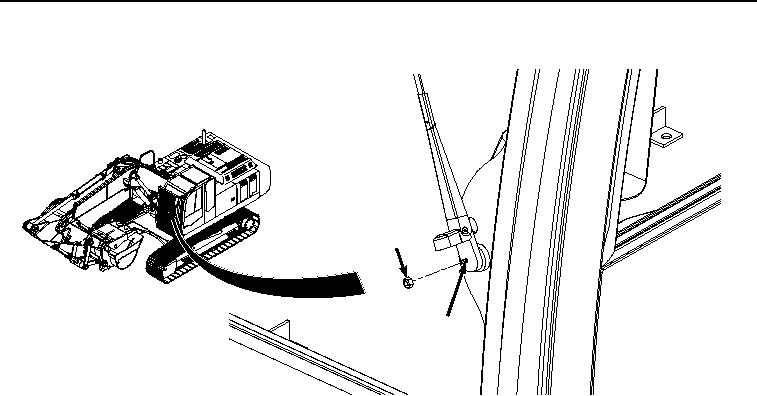
Figure 12.
Wiper Arm Nut Installation.
END OF TASK
ADJUSTMENT
NOTE
The wiper motor has a park position that can sometimes be disturbed during maintenance.
This can affect the positioning of the wiper arm and blade on the windshield. The wiper motor
will return to its park position when it receives power.
1.
Operate windshield wiper to verify that wiper arm (Figure 11, Item 4) and blade (Figure 11, Item 3) return to
vertical position at left side of windshield.
2.
Remove wiper arm (Figure 11, Item 4) and adjust as needed.
END OF TASK
FOLLOW-ON MAINTENANCE
Perform the Standard Follow-On Maintenance Instructions. (Volume 3, WP 0384)
END OF TASK
END OF WORK PACKAGE