
TM 5-3805-294-23-4
0626
ARM LINKS AND PINS REMOVAL
27.
Remove two seals (Figure 10, Item 24) from bucket link (Figure 10, Item 18).
28.
Remove two seals (Figure 10, Item 25) from bucket link (Figure 10, Item 18).
29.
Remove two seals (Figure 10, Item 26) from bucket cylinder (Figure 10, Item 11).
30.
Clean and inspect all pins, shims, and seals and replace as necessary.
END OF TASK
ARM LINKS AND PINS INSTALLATION
NOTE
It is not necessary to remove bucket to accomplish this task.
1.
Apply grease to two seals (Figure 11, Item 26).
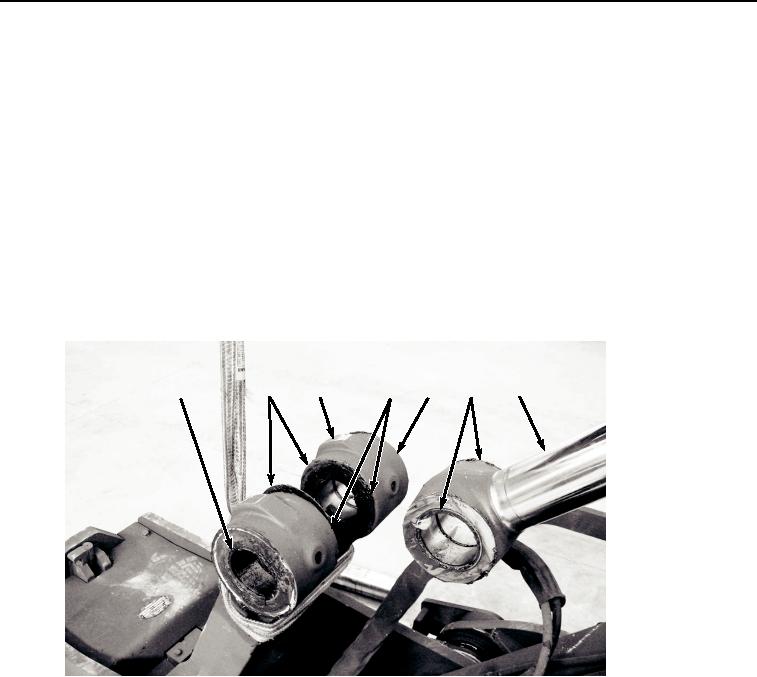
25
23
18
24
25
26
11
HYEX01125
Figure 11.
Shim and Seal Installation.
2.
Install two seals (Figure 11, Item 26) to bucket cylinder (Figure 11, Item 11).
3.
Apply grease to two seals (Figure 11, Item 25).
4.
Install two seals (Figure 11, Item 25) to bucket link (Figure 11, Item 18).
5.
Apply grease to two seals (Figure 11, Item 24).
6.
Install two seals (Figure 11, Item 24) to bucket link (Figure 11, Item 18).
NOTE
It may be necessary to apply grease to shims for positioning.
Install shims equally on each side of component to get minimum amount of clearance in
joint.
7.
Install two shims (Figure 11, Item 23) to bucket link (Figure 11, Item 18).